Grow Guide: Greens
HERBS
Starting seeds may seem intimidating to a beginner, but it's a reasonably straightforward process. This guide discusses the supplies you’ll need, teaches you how to prepare for planting, gives you step-by-step instructions for sowing, explains how to care for seedlings, and helps troubleshoot common problems.
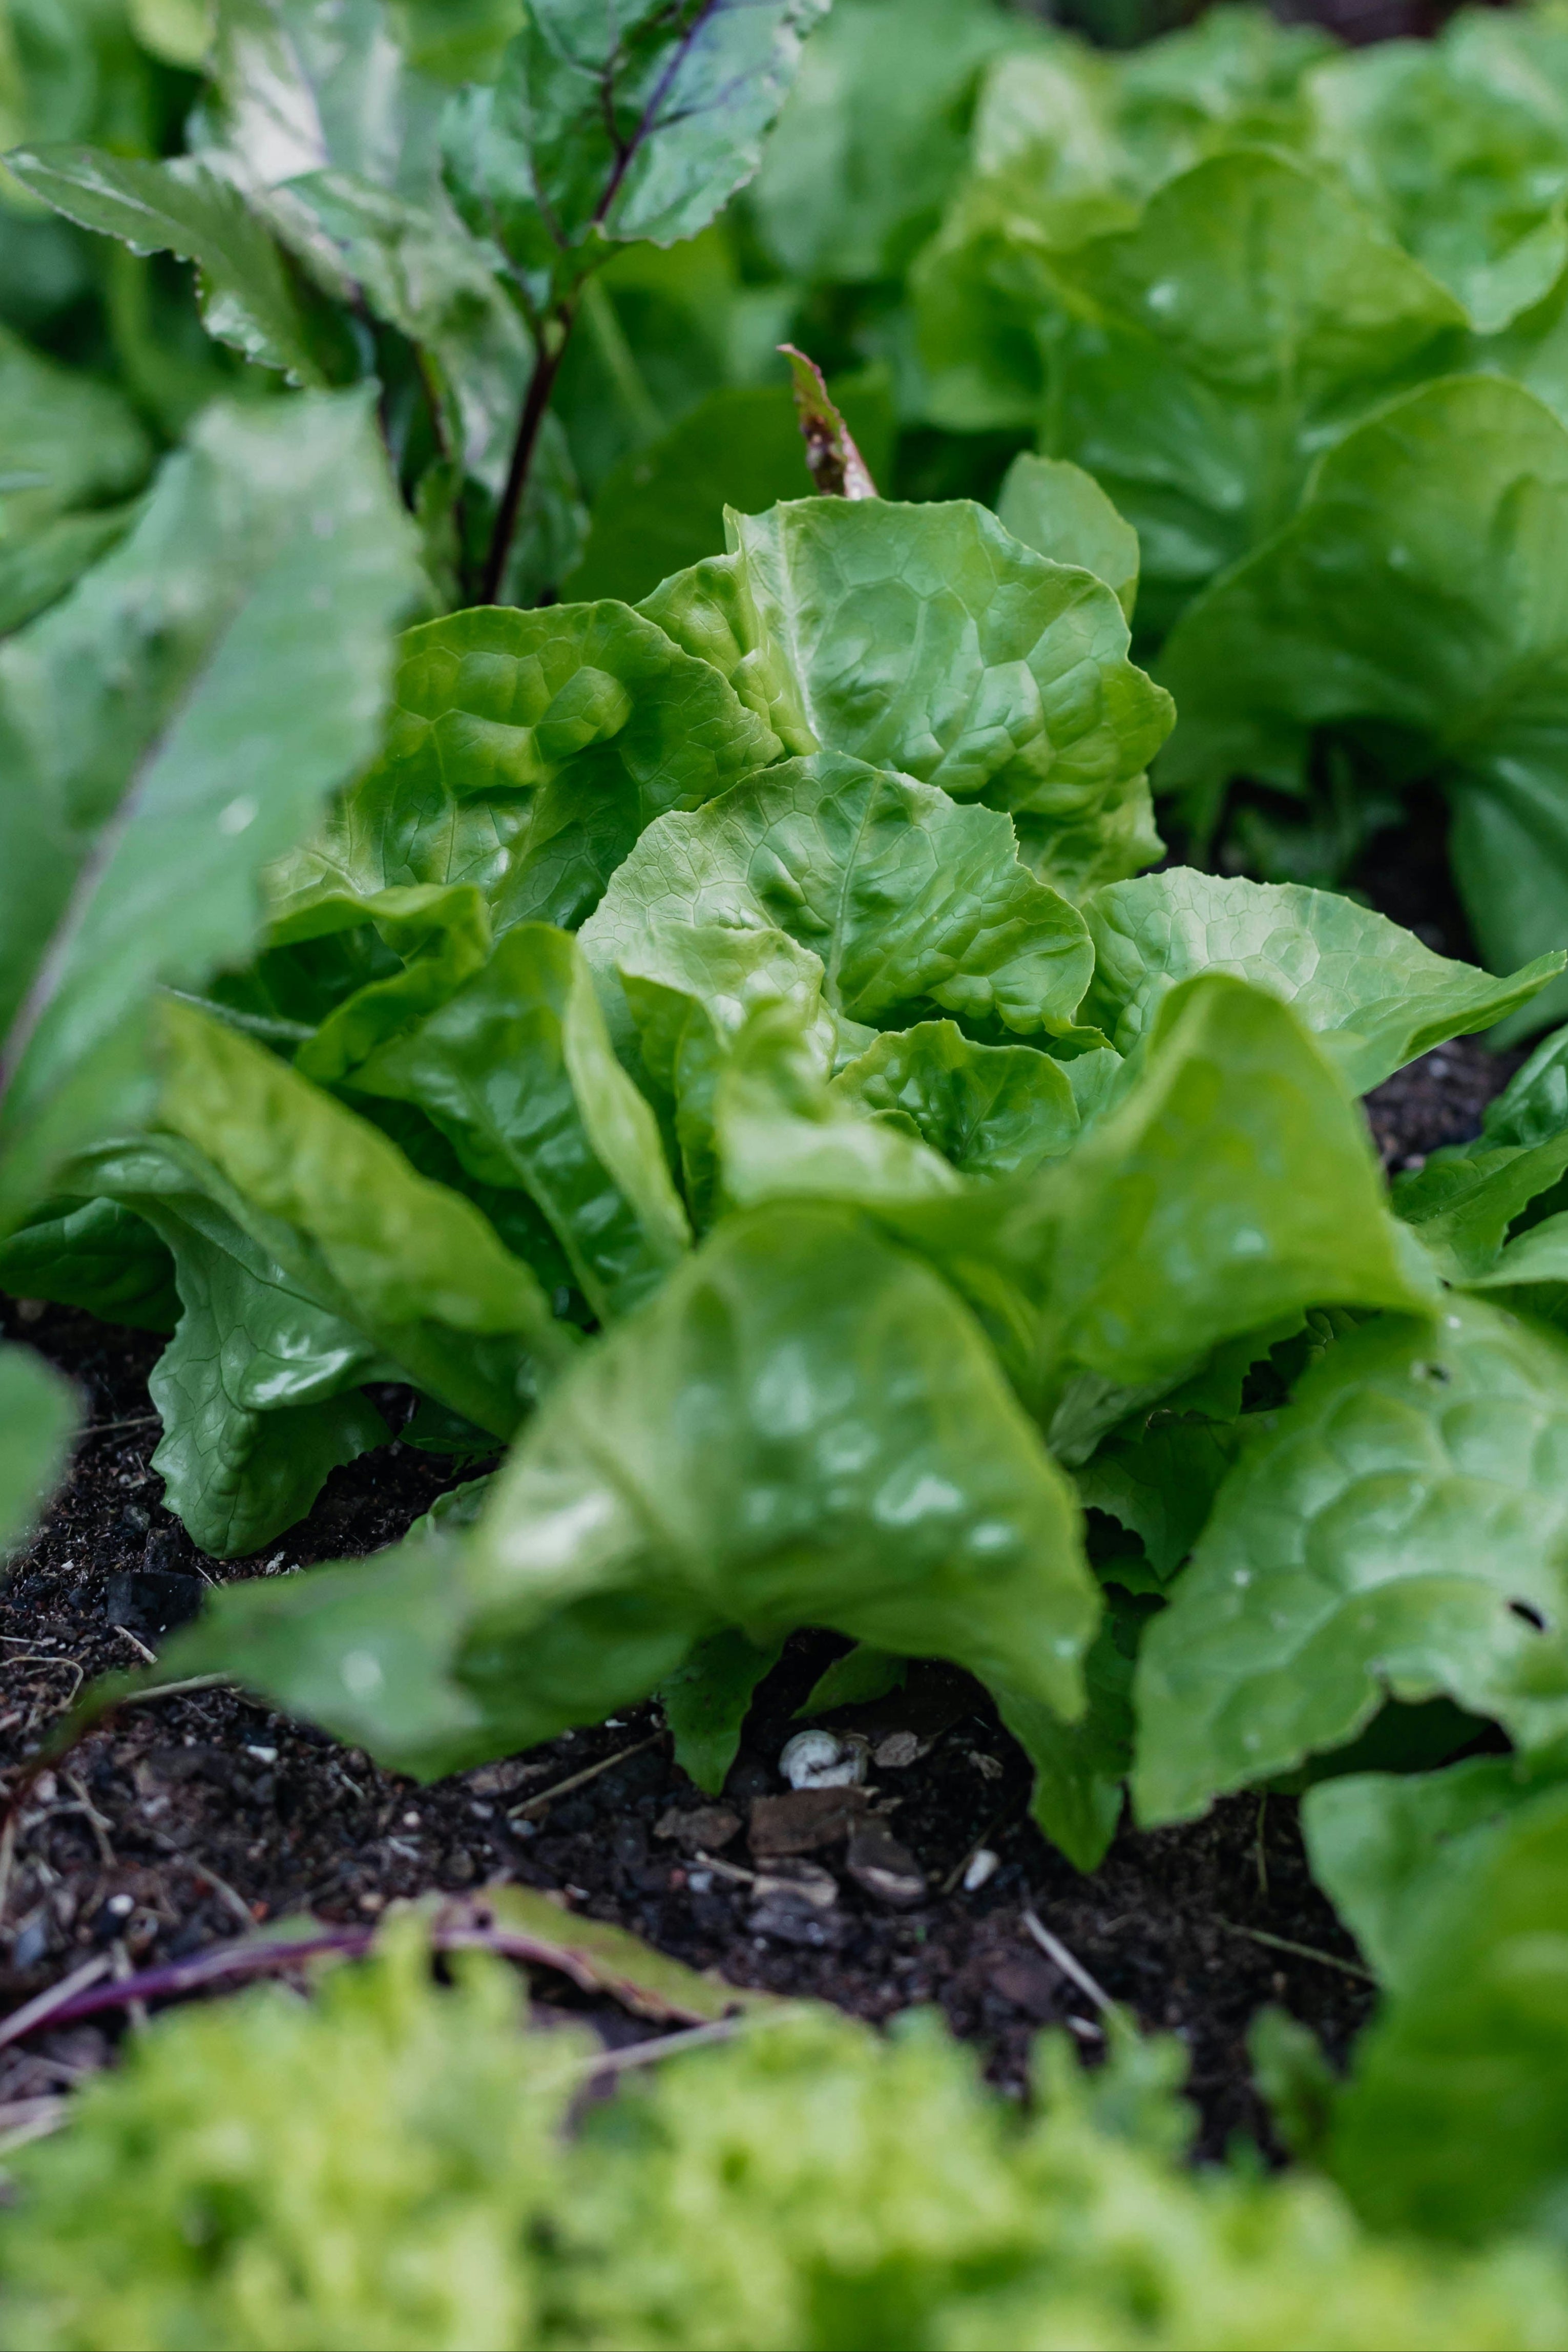
Seed Types in the Greens Variety Pack
- Green Towers romaine lettuce
- Winter Density lettuce
- Dark Lollo Rossa lettuce
- Buttercrunch lettuce
- Sandy lettuce
- Black-Seeded Simpson lettuce
- Butterflay spinach
- Rainbow blend chard
- Lacinato kale
- Arugula
Direct Sowing Seeds vs. Starting Seeds Indoors
Greens don’t need to be started indoors. They grow quickly and have a shorter “days-to-maturity” length that fits inside most growing seasons. Many people prefer to directly sow seeds outside so they don’t have to transplant them a few weeks later. However, some gardeners prefer to start seeds indoors and move them outside when suitable, believing this allows plants to grow hardier.
When to Plant Leafy Greens Seeds
Leafy greens thrive in cooler temperatures when days are shorter. For this reason, they can go in the ground earlier than warm-season crops without the worry of frost. Greens like the cold and need to mature before it gets too hot, so they don’t “bolt” and go to seed.
When direct sowing seeds:
You can sow these seeds as soon as the soil is warm enough to work in the spring, approximately six weeks before the last frost date for your area. Seeds germinate in temperatures between 40-85°F, depending on the variety, and seedlings can tolerate a light freeze (28-32°F) or two. If the soil is kept warm, plants can handle a hard freeze below 28°F.
When starting seeds indoors:
If you opt to start seeds indoors and then transplant them outside, sow them approximately eight to twelve weeks before the last frost date for your area. Transplant seedlings when they are about six weeks old.
Pre-soaking Seeds
Soaking seed before planting is a common method for improving germination. Seeds have a hard outer layer to protect themselves from insects, disease, and unfavorable germinating conditions. Soaking them in water softens the hard seed coat, exposing the embryo to moisture and kickstarting growth. Leafy greens don’t need to be soaked before planting, but soaking them for 12 to 24 hours will speed up germination and increase the number of seeds that sprout. Don't soak them too long or the seeds will start rotting.
Prepping the Soil
Greens prefer slightly acidic (pH level between 6.0 and 7.0), well-draining soil full of organic matter. Every year before planting, use a home test kit to determine the soil pH or send a soil sample to have it professionally analyzed.
Spread about an inch of finished compost or well-aged manure over the soil surface. Work it into the ground using a shovel, garden rake, or rototiller. Loosen the top 4-6 inches of soil to mix the organic material and improve drainage.
Direct Sowing Seeds Outdoors
Once the garden bed is prepped, sow seeds at depths between ⅛ and ¼ inch, with 20 inches between rows. Cover the seeds very lightly with soil, tamping down gently with your hands. Once the seeds germinate and seedlings have two or three true leaves, thin them to their final spacing.
- Lettuce: 10 to 18 inches apart
- Spinach: 12 inches apart
- Chard: 4 to 6 inches apart
- Kale: 18 to 24 inches apart
- Arugula: 6 inches apart
Succession Plantings
Plant a new section of the garden every two weeks if you want a steady, continuous supply of greens. This process is known as succession planting. You can do it as long as the daytime temperatures aren’t hot enough to cause bolting. You can also use a shade cloth to keep the plants and soil cool when the sun is intense.
Starting Seeds Indoors
Supplies Needed
-
Seeds from the Greens Variety Pack
- Growing media: Coconut coir and commercial potting soils are the two most common growing substrates used in containers, and both are available online or at local retailers. A quality growing medium in your containers is essential; it holds on to moisture and nutrients, provides air space around the roots, and anchors the plant’s roots to keep it upright.
- Containers: Seed-starting trays are the easiest to use, especially with domes or covers. The trays are wide and shallow, allowing you to plant many seeds in one tray. You can also use individual pots to start your seeds or recycle plastic containers from your kitchen (clean yogurt cups, sour cream containers, etc.). Just ensure they are cleaned and sterilized.
-
Plant tags: Use plastic or wooden plant tags to label what seeds you have planted and where. Plastic plant tags are more durable, and the words don’t fade as quickly; wooden tags are biodegradable and more environmentally friendly.
- Supplemental grow light (highly recommended): LED, fluorescent, and compact fluorescent grow lights are good choices for hobby growers. Grow lights emit different wavelengths or “colors” of light crucial for plant growth.
- Seed-starting mat (highly recommended): A seed-starting mat is used to speed up germination. It is similar to a household heating pad in size and shape and goes underneath a seed-starting tray to warm the growing medium.
Reusing Potting Soil
Reused items like potting soil and containers must be thoroughly cleaned and sterilized to remove pathogens or fungal spores. This is especially critical if you have had trouble with damping off in the past.
To sterilize your potting soil, thoroughly moisten it and place it in an oven-safe dish no more than three inches deep. Cover with aluminum foil and place in an oven preheated to 200°F. When the soil's internal temperature reaches 180°F, bake for thirty minutes without opening the oven door. Shut the oven off and keep the soil inside until it reaches room temperature.
Prepping Growing Medium
Pre-moisten the medium before filling your containers. The potting soil should feel damp but not soggy. It should hold together in a lump without excess water dripping if you squeeze a handful.
Moisten the potting soil by putting some in a large basin or bucket and adding lukewarm water. Use a clean trowel, serving spoon, or your hands to mix it thoroughly. Add more water or potting soil until you reach the desired dampness.
Step-by-Step Planting Instructions
- Fill containers almost to the top with pre-moistened growing medium.
- Plant seeds between ⅛ inch and ¼ inch deep, then cover gently with potting mix.
- Mist the potting soil with room-temperature water.
- Cover the seed tray with the accompanying plastic lid to keep the humidity level high.
- Set containers on top of the seed-starting mat or somewhere slightly warmer than the air temperature in your home, such as on top of the refrigerator.
- Periodically mist the potting soil to moisten the medium without disturbing the seeds.
- If heavy condensation collects on the inside of the dome, remove it for a while or prop it open to allow air movement.
- Once seeds germinate and sprout, remove the cover to prevent damping off and move the container(s) to a spot with plenty of light.
Hardening Seedlings Before Transplanting Outdoors
About a week before you hope to move seedlings outside, begin acclimating them to outdoor conditions. This process is called “hardening off,” and it minimizes transplant shock from differences in temperature and light exposure.
Start by setting the containers outside in a sunny location protected from the wind for a few hours and then bringing them in at night. Every day, gradually increase the length of time they spend outside until it’s time to transplant.
Transplanting Seedlings Into the Garden
Dig holes at the following recommended spacings when transplanting your greens. The holes should be approximately twice as deep as the seed-starting cell and one-and-a-half times as wide.
- Lettuce: 10 to 18 inches apart
- Spinach: 12 inches apart
- Chard: 4 to 6 inches apart
- Kale: 18 to 24 inches apart
- Arugula: 6 inches apart
When the holes are ready, gently remove the seedlings from their container(s) and place them in the hole so the potting soil is slightly below the soil surface. Backfill with the soil you removed, tamping down to eliminate air pockets.
Caring For Your Leafy Greens Seedlings
Sunlight
When grown outdoors, greens need approximately six hours of bright sunlight per day. Indoors, seedlings need twelve to sixteen hours of bright daylight. The best places are close to south- or west-facing windows. South-facing windows get the most sun. West-facing windows stream direct sunlight for a good portion of the day and are often shaded from the intense sun in the late afternoon.
There is a high likelihood the light inside your house is inadequate for good growth, especially in the late winter or early spring. To compensate for low light levels, supplement the natural light using a grow light.
Temperature Requirements
All of the greens in the Greens Variety Pack prefer cooler conditions, hence why leafy vegetables are best planted in early spring. They grow best when air temperatures are between 50 and 65°F. Once temperatures start climbing above 70°F, plant hormones trigger a process known as bolting, in which the plant flowers and sends up a seed stalk. Bolting makes greens bitter and inedible.
Indoors, keep the ambient air temperature between 60 and 70°F, if possible.
Regardless of whether you grow your plants indoors or outside, they tolerate slightly warmer daytime temperatures if the nights are cooler.
Watering Needs
Because greens have a high water content in their leaves, they require frequent watering. Keep the soil slightly moist until the seeds have germinated, then water seedlings lightly once a day for the first two weeks. Once the seedlings show good growth, water only when the top of the soil begins drying out.
You can expect to water your plants at least two to three times a week and perhaps more frequently if the weather is warm or windy.
For indoor seedlings, the preferred method is to water containers from the bottom. Place the seed tray or container(s) in a shallow pan of water. The growing medium will only wick up the moisture it needs to fill the pore spaces. Bottom watering helps prevent overwatering and won’t dislodge the seeds or seedlings like overhead watering may.
Indoor Watering Concerns
In most homes, tap water is acceptable for indoor plants. However, there are a few things to keep in mind:
- If your home has hard water, you will see a white buildup on the soil surface over time. This buildup comprises calcium and magnesium salts from the limestone in the water. Periodically flush the soil with filtered or tap water to remove.
- If you have softened water, collect water from your pipes before it goes through the softener or water your plants with distilled or bottled water.
- If the local municipality treats your water, it may have a reasonably high chlorine content, which can be problematic in sensitive plants. Before watering your plants, fill a watering container and let it sit for 24 hours to allow the chlorine to dissipate.
Fertilizer Requirements
Cut-and-come-again plants (plants that regrow cut leaves) like greens have high fertilizer needs, especially nitrogen because it drives vegetative growth. For optimum yields, fertilize plants every two weeks using a water-soluble fertilizer diluted to half-strength.
Troubleshooting Common Problems
Damping Off
Damping off is a problem in seedlings caused by soilborne fungus or mold. It is brought on by damp conditions and causes the roots and stem to rot, resulting in seedling death.
- It is hard to avoid damping off in the garden because you can’t control the weather, but greens are less prone than warm-season crops because they prefer cooler temperatures. Scale back on watering if temperatures drop below average or rainfall increases.
- The most effective way to avoid damping off indoors is to increase air circulation by setting up a small fan nearby. Keep the potting soil moist while avoiding overwatering, and keep containers in a warm location.
Common Pests
Greens tend to have more insect problems than other garden plants because the edible part of the plant grows so close to the ground. Common pests include cutworms, armyworms, corn earworms, cabbage loopers, aphids, thrips, whiteflies, snails, and slugs.
Insect control is essential for minimizing physical damage to the leaves and preventing the spread of disease. Disease transmission increases when these pests eat through the leaf tissue or pierce the leaf cuticle to suck on the sap. Sap-sucking insects like aphids and thrips also secrete honeydew, increasing the prevalence of sooty mold.
To control flying insects, introduce beneficial or predatory insects to the garden, plant natural deterrents like highly aromatic herbs or nasturtiums nearby, or use neem oil or insecticidal soap to treat infestations. Use traps or create soil barriers to deter crawling pests.
Problematic Diseases
Unfortunately, greens are prone to bacterial and fungal diseases because of their elevated water needs. Leaves are also spaced close together with little air circulation. Both of these factors increase the risk of disease.
Common diseases include downy mildew, leaf spot, lettuce mosaic virus, anthracnose, and bottom rot. Avoid overhead watering to keep moisture off the leaves to minimize disease risk. If disease problems arise, treat plants with a recommended fungicide following the label directions.
TOMATOES
GREENS
SUNFLOWERS
