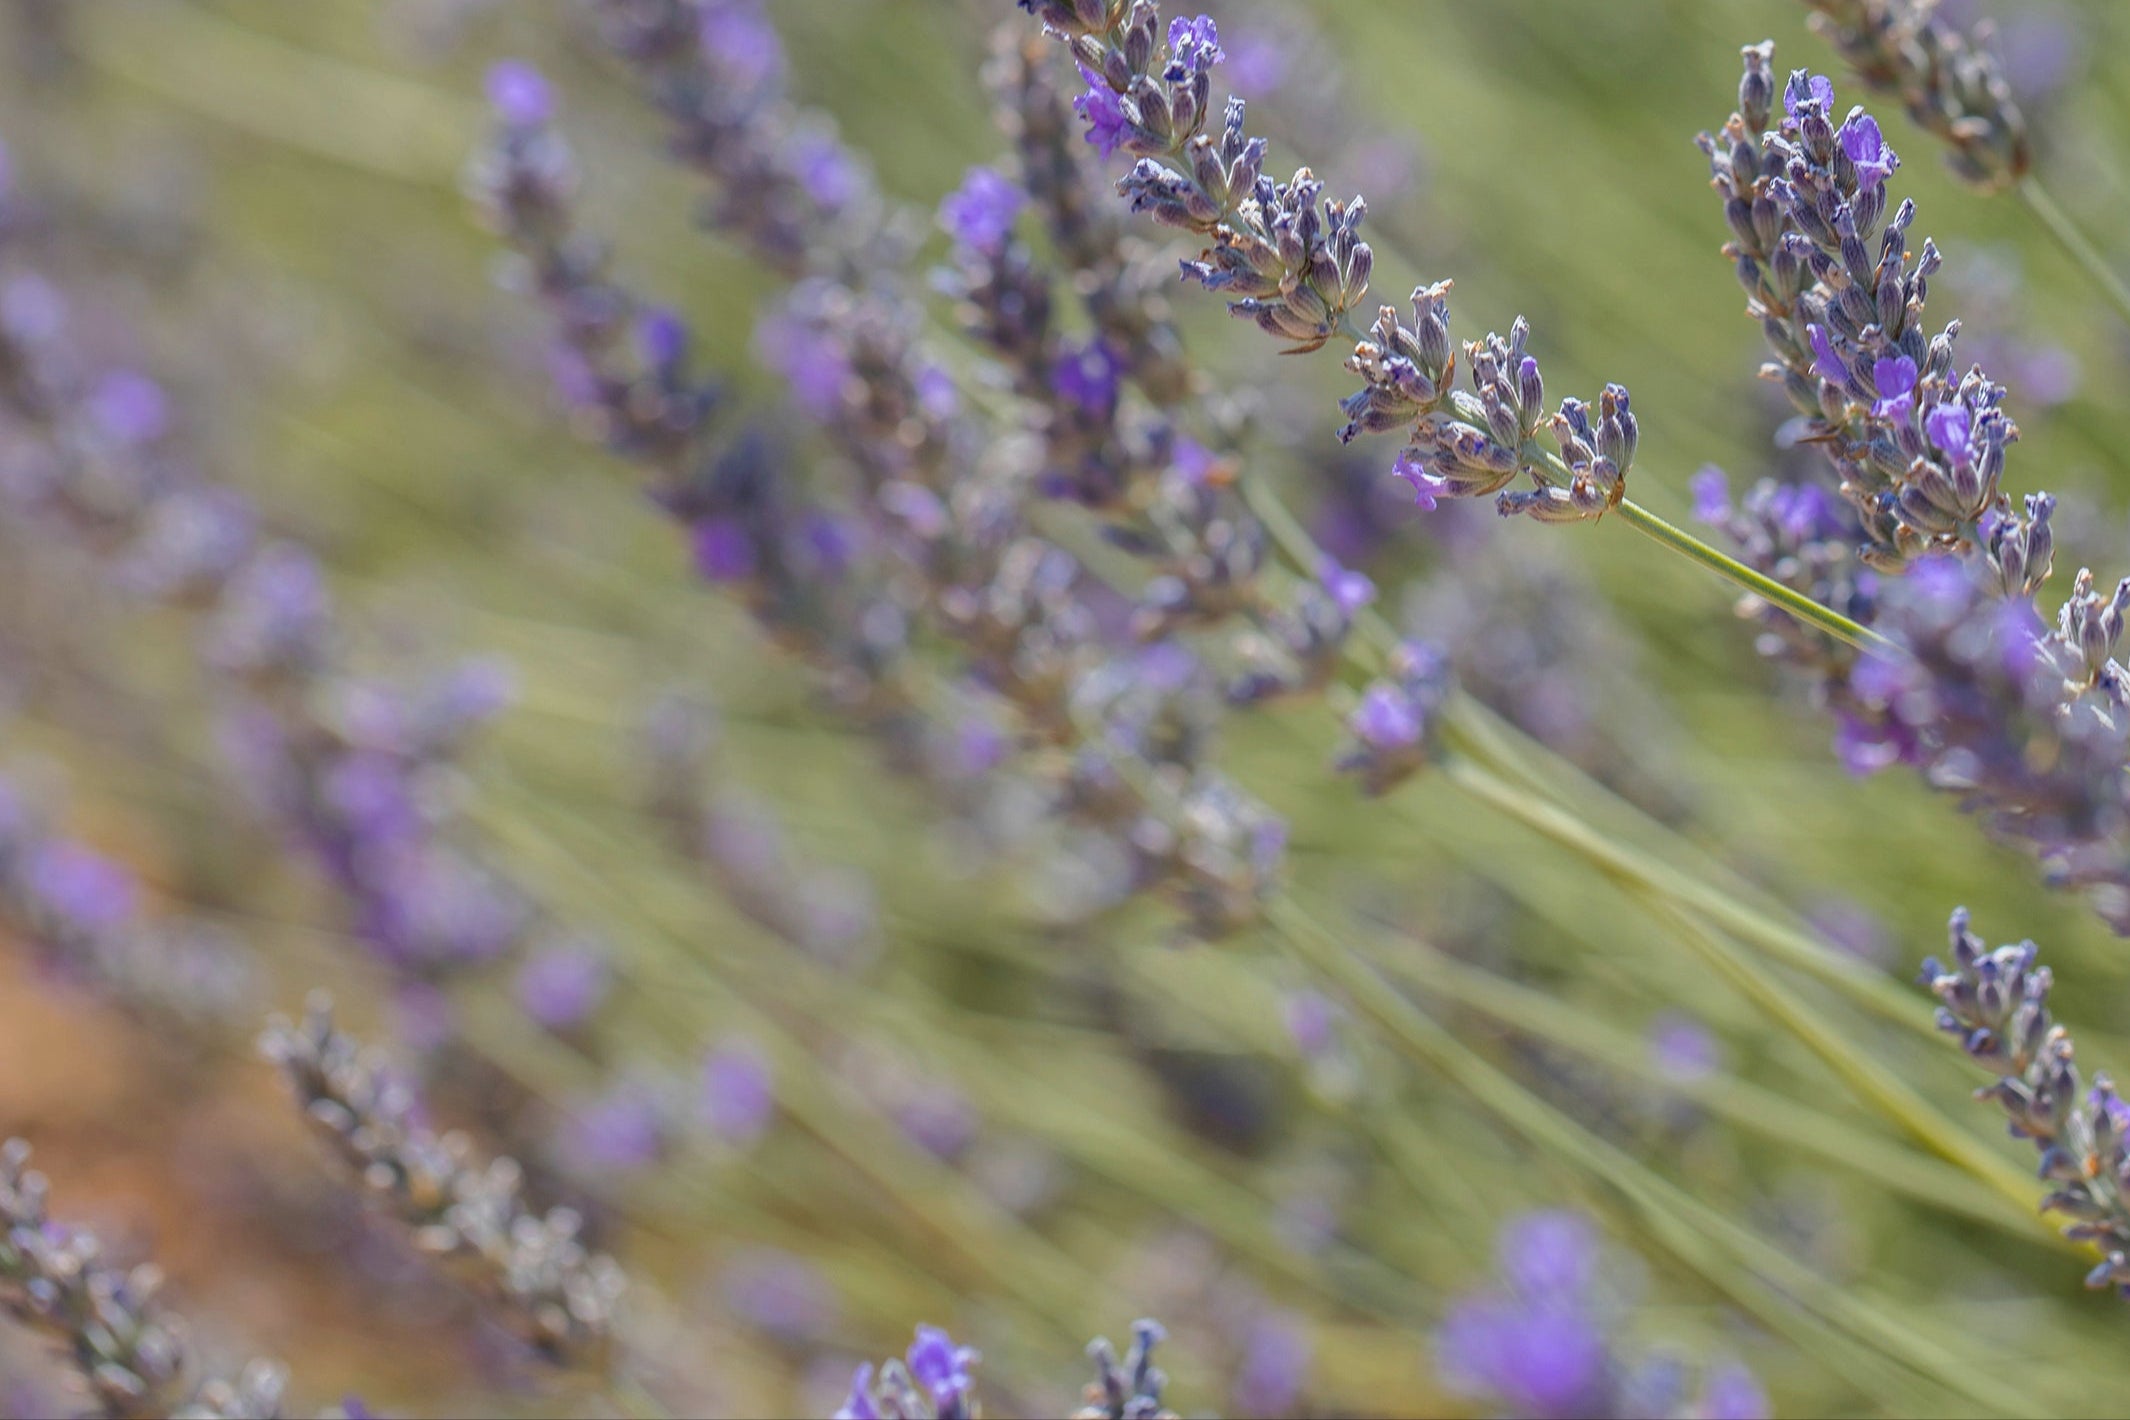
Grow Guide: Lavender

HERBS
Starting seeds may seem intimidating to a beginner, but it's a reasonably straightforward process. This guide discusses the supplies you’ll need, teaches you how to prepare for planting, gives you step-by-step instructions for sowing, explains how to care for seedlings, and helps troubleshoot common problems.
Supplies
- Growing media: Coconut coir and commercial potting soils are the two most common growing substrates used in containers, and both are available online or at local retailers. A quality growing medium in your containers is essential; it holds on to moisture and nutrients, provides air space around the roots, and anchors the plant’s roots to keep it upright.
- Containers: Seed-starting trays are the easiest to use, especially with domes or covers. The trays are wide and shallow, allowing you to plant many seeds in one tray. You can also use individual pots to start your seeds or recycle plastic containers from your kitchen (clean yogurt cups, sour cream containers, etc.). Just ensure they are cleaned and sterilized.
- Plant tags: Use plastic or wooden plant tags to label what seeds you have planted and where. Plastic plant tags are more durable, and the words don’t fade as quickly; wooden tags are biodegradable and more environmentally friendly.
- Supplemental grow light (highly recommended): LED, fluorescent, and compact fluorescent grow lights are good choices for hobby growers. Grow lights emit different wavelengths or “colors” of light crucial for plant growth. Lights that emit more blue light or a combination of blue and red are the best for growing peppers.
- Seed starting mat (highly recommended): A seed-starting mat can accelerate germination. It is similar in size and shape to a household heating pad and goes underneath a seed-starting tray to warm the growing medium.
A Note on Your Lavender Seeds
Lavender is not hard to grow from seed, but it does require a good deal of patience and careful attention. Keep in mind that lavender seeds...
- Germinate slowly: Lavender seeds may germinate in 2-3 weeks, but be prepared to wait up to one month or longer for sprouts to appear.
- Sprout unevenly: Some seeds may sprout sooner than others.
- Love light: We recommend using a grow light for this reason.
- Appreciate warmth: Approximately 70°F during germination.
- Require cold stratification: We’ll discuss the fridge method below.
When to Start Lavender Seeds Indoors
Start your lavender seeds indoors 3-4 months before your average last frost. For example, if your average last frost is normally in mid-April, start your seeds indoors in late December or mid-January.
When to Direct Sow
While it is possible to directly sow your lavender seeds outdoors, we don’t recommend this method. Germinating lavender seed requires specific care and attention, which is more difficult outdoors where you have less control over the environment.
Direct sowing lavender seed is a less successful method than starting your seed indoors. For this reason, we highly recommend starting your lavender seed indoors and then transplanting outdoors after the chance of frost has passed and there are several sets of true leaves. True leaves look like baby-sized lavender leaves.
Starting Lavender Seeds Indoors
- Cold stratify your seeds in the fridge. Place your seeds on a damp paper towel inside a plastic storage bag and leave them in the refrigerator for three weeks.
- Fill your seed tray with a pre-moistened growing medium. Ensure the medium is light and drains well.
- Place your stratified lavender seeds on top of the medium. Lavender seeds need lots of light to germinate, so don't cover them up.
- Place the sprouts in a warm and sunny location. Use grow lamps and a heat mat to maintain bright and warm conditions (approximately 70°F/21°C). Low light will kill your lavender seedlings, so keep things bright to keep your lavender happy (12-18 hours of light a day with grow lamps 1-2 inches from the plants).
- Do not overwater. Lavender likes well-drained, fairly dry soil. Lightly water or mist with a spray bottle when the soil feels dry.
- After 8-12 weeks, your lavender starts will be ready to harden off and transplant outdoors.
Hardening Off Your Seedlings
Once your lavender seedlings are about 3 inches tall with a few sets of leaves, it’s time to get them ready for life outdoors. Hardening off is the process of slowly getting seedlings used to living outside. This reduces the risk of shock and gives you the best chance of successfully transplanting your seedlings so they can thrive outdoors.
- Ensure all chance of frost has passed. It’s also preferable that the weather is mild on the seedlings' first day outside.
- Place your seedlings outside in an area protected from hot sun, fierce wind, and rain for the first 1-3 days.
- Start with 2-3 hours of “outside time,” then take the seedlings back inside to continue living under the conditions they’re used to.
- Take the seedlings outside every day for a week, gradually increasing their time outside each day, as well as their time in direct sunlight.
- At the end of the week, graduate your lavender seedlings to a full day outside in direct sun.
Keep an eye on your seedlings during the hardening-off process. Watch for discoloration, wilting leaves (a sign that the sun is still too much for them), and overly dry soil. Water as needed.
Transplanting Your Seedlings
After hardening off your lavender seedlings, your plants are ready to start thriving outside full-time. Lavender is a fairly hardy plant that tolerates heat and drought, so plant your seedlings 12 inches apart in a spot that receives 6-7 hours of full sun with well-draining soil. If your soil does not drain well, mix it with sand, pebbles, pumice and/or compost. A soil pH of 6.5-7.5 is ideal.
Dig a hole as deep and as big as the lavender's current container, then carefully remove the lavender seedling with its soil and place it in its new home. Lightly pat the soil around the seedling and give it a light watering.
Lavender does not like having soggy roots and prefers fairly dry soil. Roots that are constantly wet invite fungi and mold.
Watering Your Lavender
Lavender is drought tolerant and doesn’t require much water. Water your transplants 1-2 times a week until the roots are established, then begin watering your lavender once every 2-3 weeks.
When your lavender begins to bud, revert to watering 1-2 times a week, as blooming plants tend to use more water.
Allow your soil to dry out between waterings. Lavender does not like to sit in soggy soil for extended periods.
Fertilizing Your Lavender
In early spring, at the start of the growing season, fertilize your lavender with a small dose of a balanced liquid fertilizer. Dilute the concentrated formula at half the rate listed on the package directions, then use this to water your plants once. Lavender only needs one dose of fertilizer per year.
Once established, lavender is fairly low maintenance and doesn’t take well to over-fertilization. When it comes to lavender and fertilizer, less is more.
Pay Attention to Your Lavender After Transplanting
Overwatering and Underwatering
If your lavender leaves begin to yellow, you may be overwatering. Likewise, if your plant begins wilting, it may need more water than recommended.
Too Much Sun and Heat
Lavender is a full-sun plant, but if your plant is drooping and looking less than perky, try moving it to a shadier location with less midday sun. The new location should still get adequate sunlight as well as indirect light.
When to Expect Lavender Blossoms
You may see a few blooms from your first year of growth, but lavender typically matures and fully blooms in its second year.
How to Prune Young Lavender Plants
Never cut into the hard, woody stem. If you do, your lavender will not regrow and may not recover. To encourage foliage growth and root development, prune the plant to a third of its original size after it flowers.
How to Prune Established Lavender Plants
Again, never cut into the hard, woody stem so as not to damage your lavender and prevent it from growing back. Prune after the first flowering and then again around late August (end of summer) after the last set of blooms has faded.
Prune the lavender into a spherical, mounded shape one-third of its original size. This is what gives lavender its characteristic rounded appearance.
Troubleshooting Common Problems
Alfalfa mosaic virus (AMV)
AMV yellows your lavender and causes distorted or stunted growth. It spreads through aphids who carry the pathogen from a diseased plant, cross contamination from unsterilized gardening tools, and from infected cuttings planted near healthy lavender. Keep aphid populations under control and gardening tools cleaned and sterilized to prevent AMV.
Mold and Fungus
When your lavender is in seedling form, watch out for cool, damp conditions. These invite mold and fungus and may result in damping off. Damping off causes your lavender seedlings to rot and can kill a large section or an entire tray of seedlings. Watch for soggy soil and conditions that are too cold.
Prevent damping off by avoiding overwatering and keeping your lavender seedlings warm. Once your lavender has an established root system and mature leaves, damping off becomes less of a threat.
Whiteflies
Whiteflies are small insects often found on the undersides of lavender leaves. They feed on plant sap and leave a sticky honeydew residue on your plant. They can reduce your lavender plant’s vigor and also cause mottled and yellowed foliage.
Remove whiteflies by hand and spray them off with strong streams of water. Recipes for non-toxic spray solutions are also available.
Spittlebugs
Spittlebugs (or "froghoppers") leave a clump of white foam on the stalk of lavender plants. This foamy substance looks like the froth created by hand soap. Fortunately, spittlebugs rarely devastate lavender plants and can be easily washed away by spraying your lavender plant with a hose.
Aphids
Aphids usually do not harm lavender directly, but they do aid in the spread of AMV. Keep aphid populations under control through the use of organic pesticides and essential oil sprays and by sprinkling diatomaceous earth. Ladybugs and lacewings also prey on aphids and are commercially available.

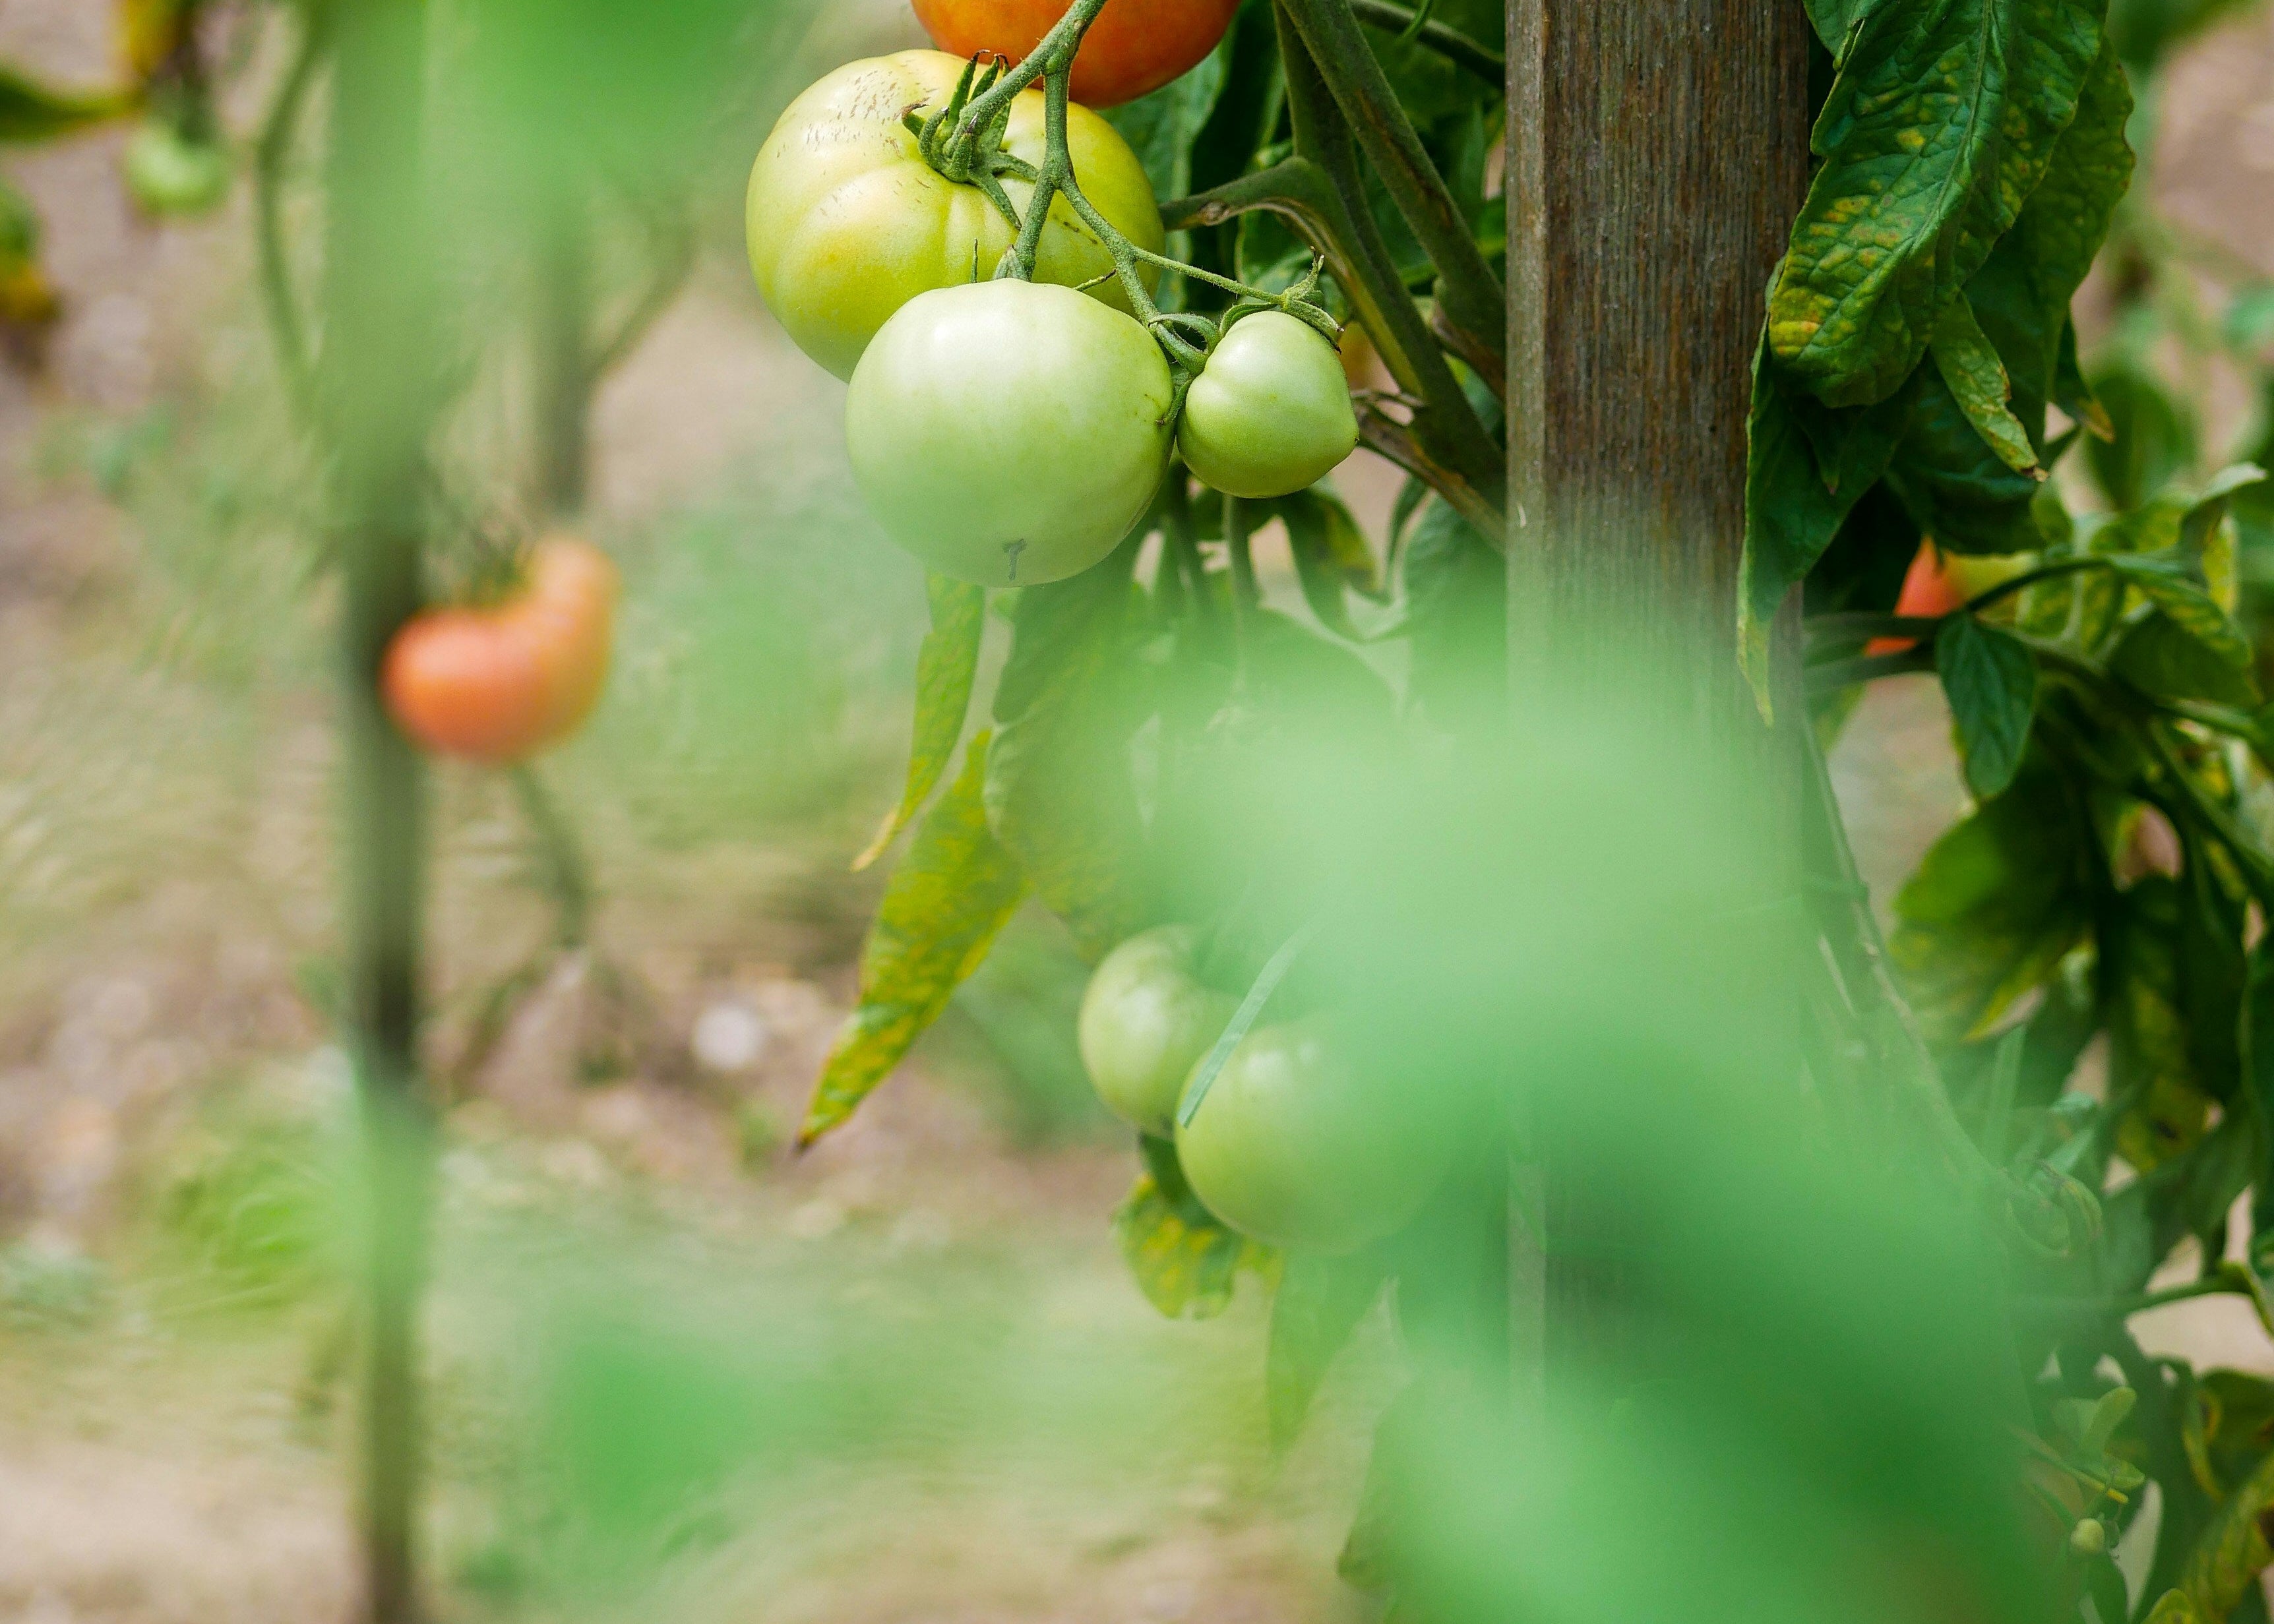
TOMATOES
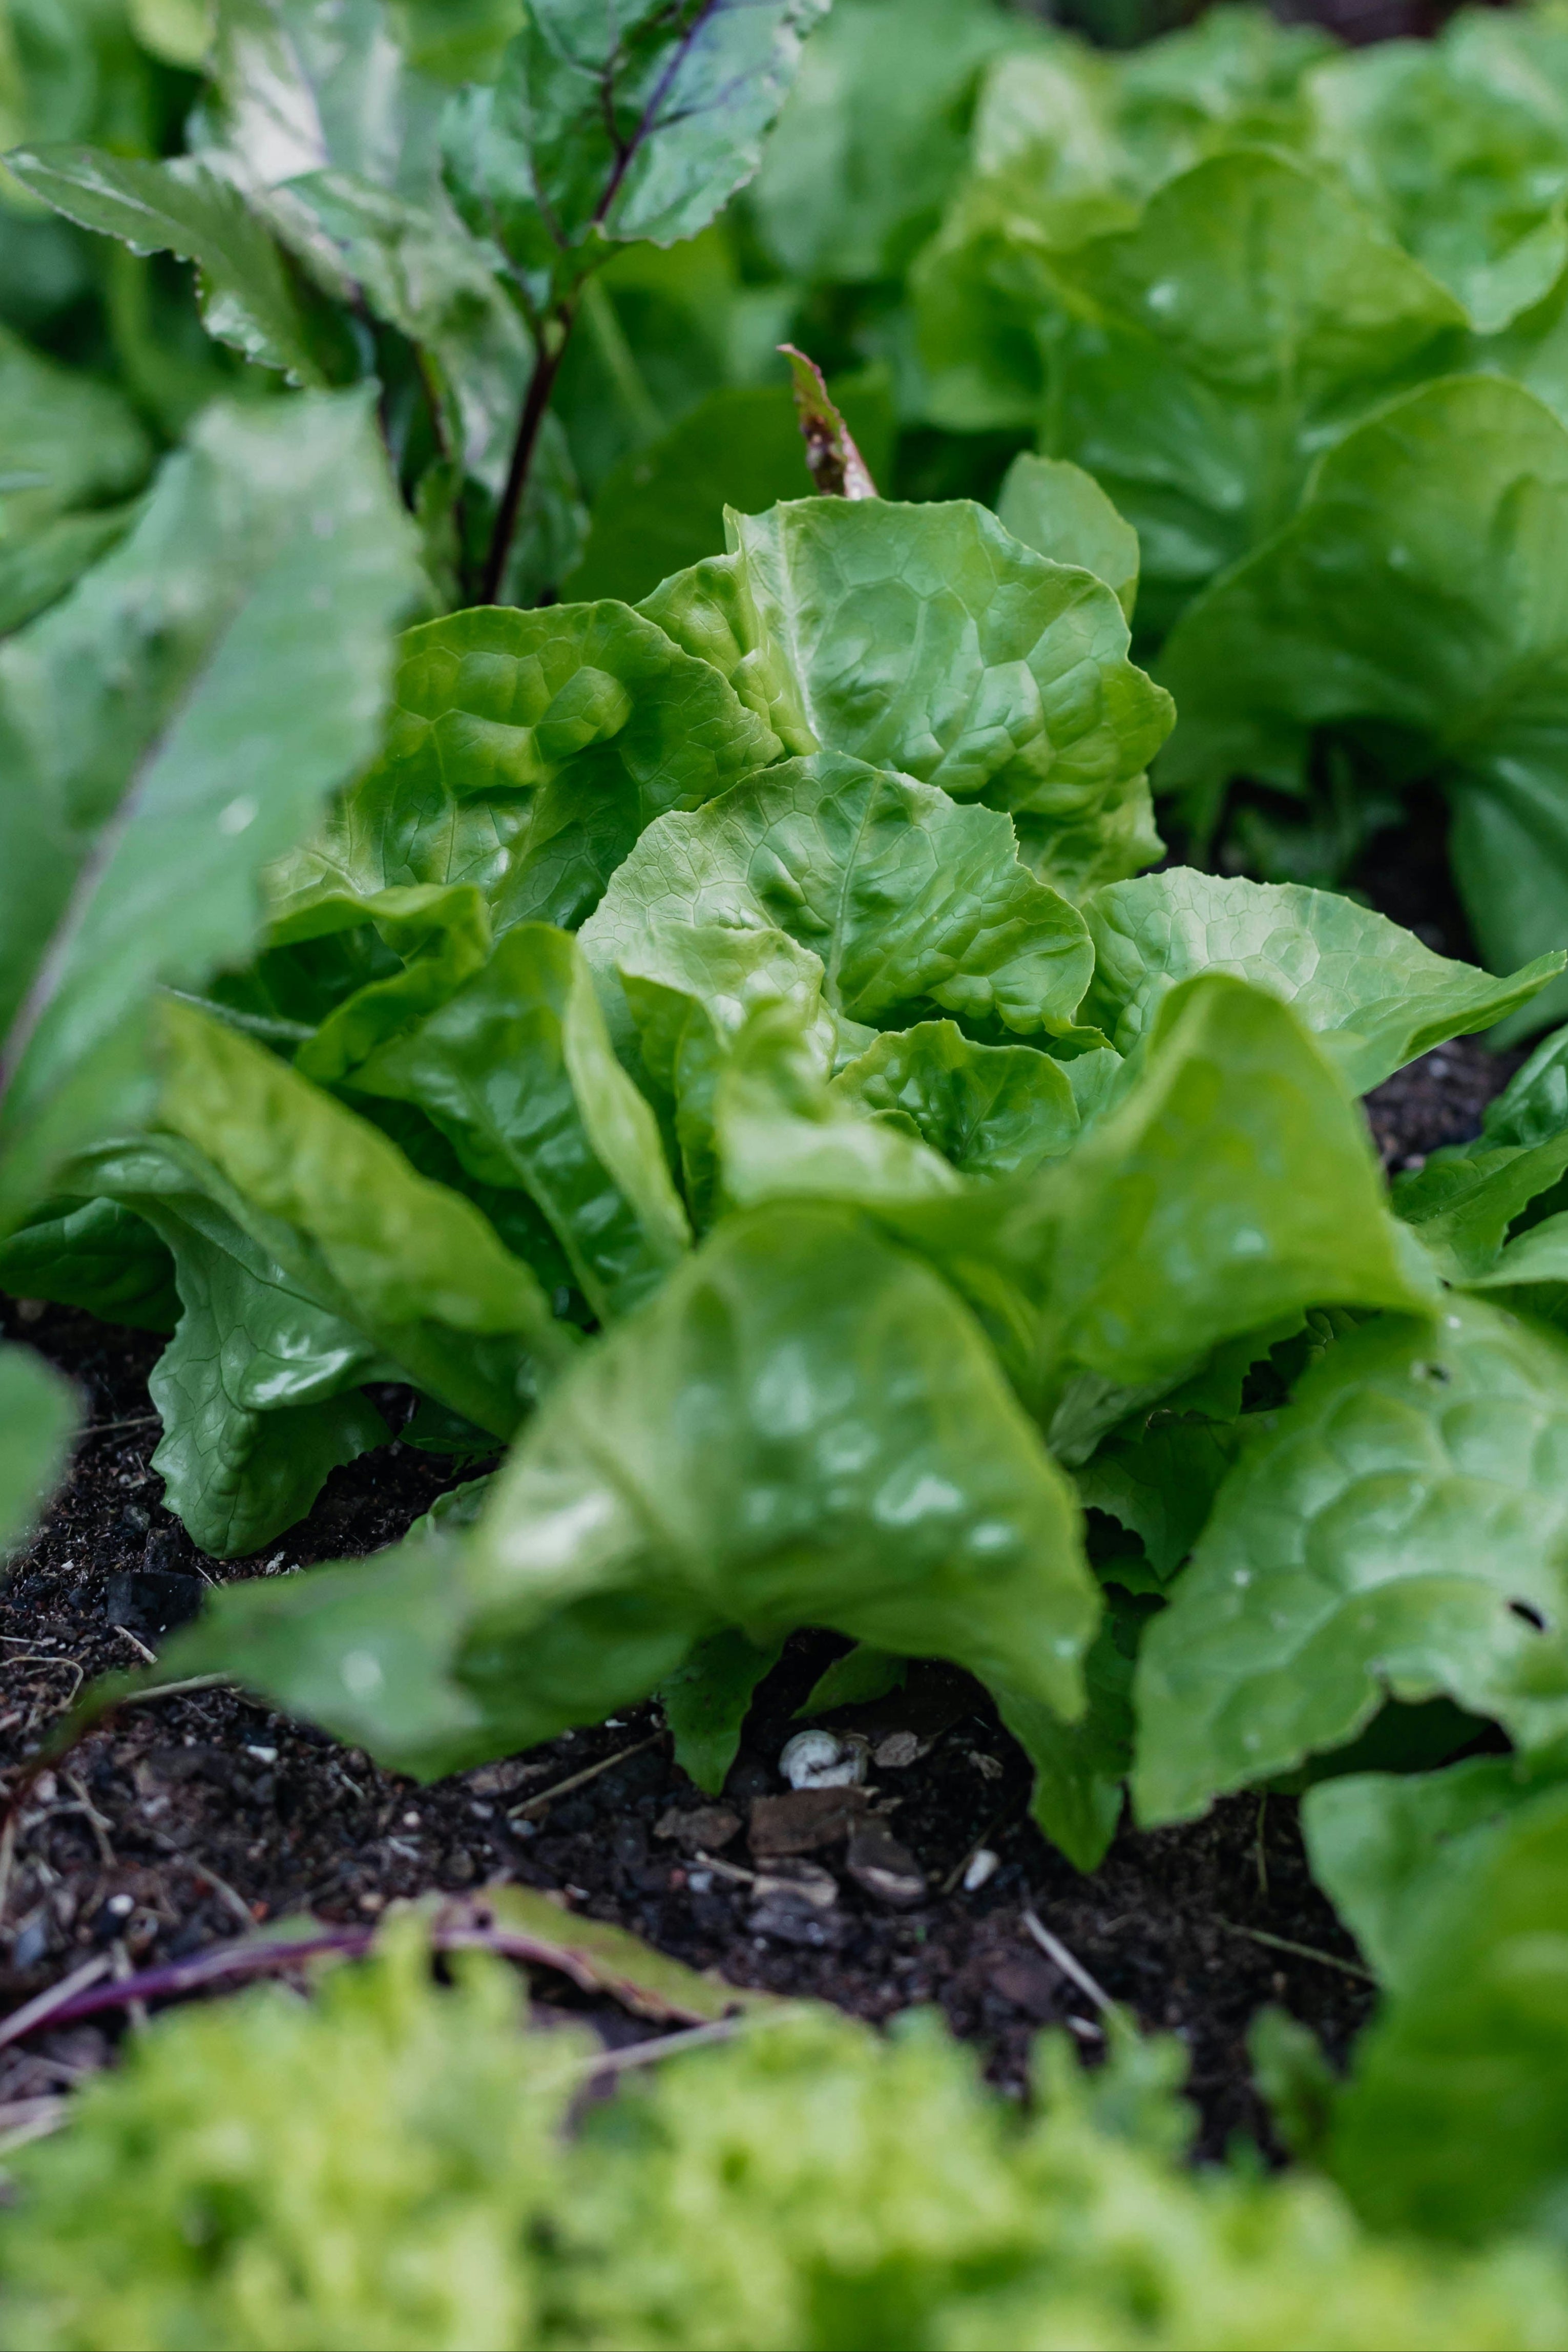
GREENS

SUNFLOWERS